Wednesday, February 8, 2012

Baby Shower Season


WOW! Is it just out here in Portland that everybody seems to be having babies or is it in your neck of the woods, too?

I just remember the excitement of washing baby clothes and ALL of the cloth diapers and everything else that went along with getting ready to bring our babies home. {HMMMM...that may have been the only time I didn't mind laundry!} OCD and nesting can be a very dangerous combination! Pretty sure our home, cars and toaster never looked so good!

Anyhoo, this last weekend I was able to help a friend throw a baby shower for her daughter. Even though there was not much time to plan...it was do-able by keeping things pretty simple!

I will post about my "PARTY IN A TUB" soon and explain how you can plan a party on your own for ANY occasion at a moment's notice! It can be fun...especially if you delegate a few things. I know. I am learning to let people help!!
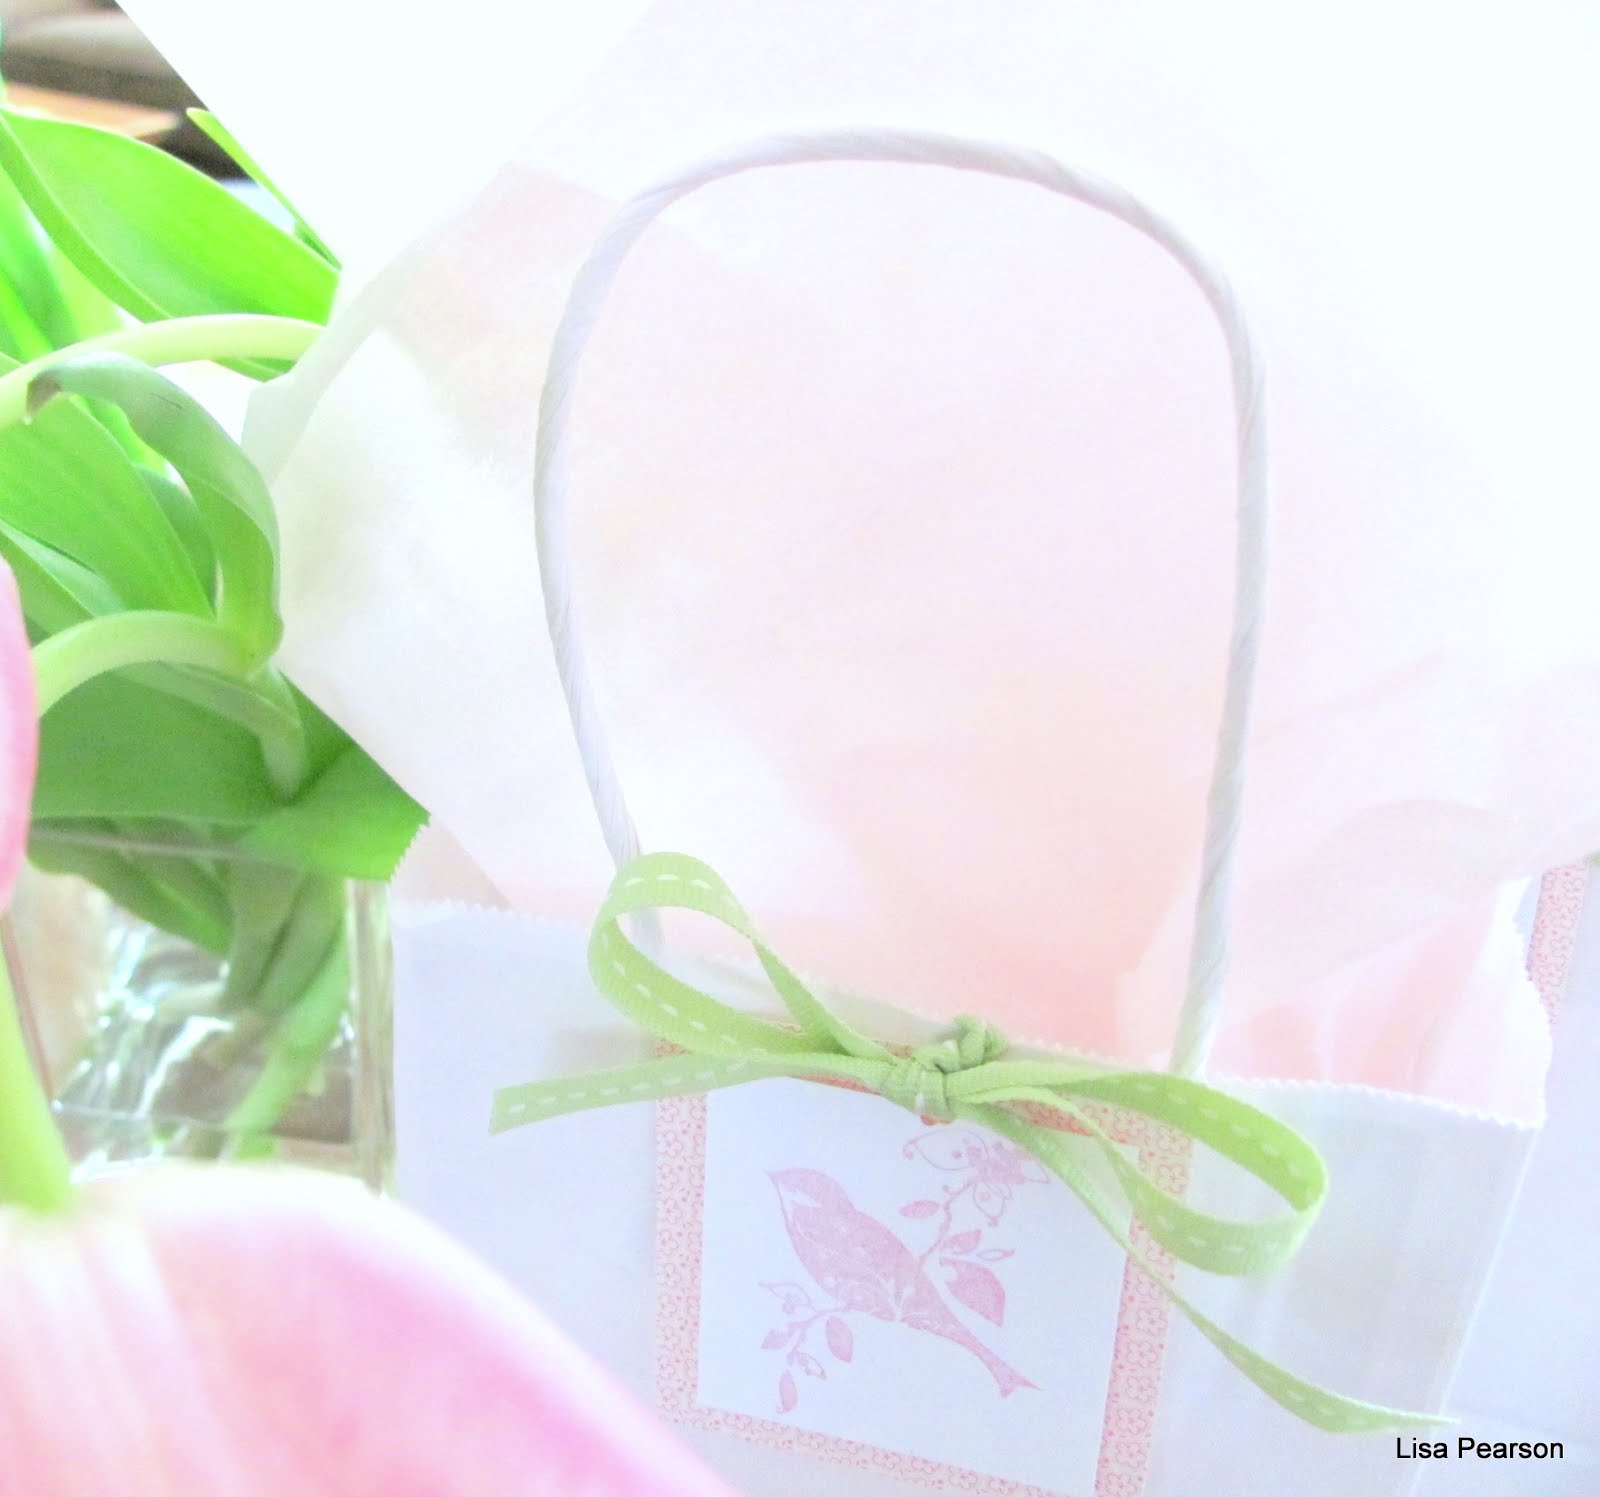
 
I always use white as a background color and then usually choose two accent colors


Stamps that can be uses for multiple uses are a great investment.  This stamp has been used for luncheons, bridal showers, thank you notes, and now for a baby shower!


Here, I used it to help carry the theme.


Since the room was HUGE and didn't really tie in with our theme, I used two IKEA tab top curtain panels {$27, I think} hung on branch limbs that had fallen during a storm.  I let them dry out and they worked out perfectly as a backdrop for our garden/birdie shower!!  Best of all these curtains are also used for table cloths!!  TABS and all...


More branches gleaned from the yard.  A great filler!


White dishes and cupcake holders work with any theme...


Dollar store and Goodwill frames and stamps=Perrfect party accents for stamped art or menus!


Another reason to collect canning jars of differen sizes!


Drink containers also come in handy for a simple display!


White craft store letters, ribbon and wainscotting...

 
Leftover wainscotting and a bit of work on the computer.


Birch branches from our yard gathered at the corners for a free frame!


Inexpensive chinese take-out containers from Cash and Carry make for quick take home favors. 


Itis never too late to start collecting vintage luncheon plates!  Just think how much money you will save by not having to go out and buy paper plates!!  Happy Party Planning and...


Happy Happy Wednesday!


Shared with: crafty scrappy happy, pink saturday


Sunday, February 5, 2012

Carolyn's Yummy Grilled Cheese


Do you love it when you have company drop in for dinner? We love it. There is no time to have things just so. No pressure to impress...especially if it is one of your besties!

A few weeks ago, I invited my friend Carolyn to join us for dinner. I had made French onion soup...it took 3 hours to carmelize the onions {YEP, RIDICULOUS!} and when I invited her to drop in...I was so excited she didn't have dinner plans.

She brought over a plate of THE BEST GRILLED CHEESE sandwiches EVER. They were devoured. Let's just put it this way, I don't think anyone cared about the soup, and I am never {I MEAN NEVER!} making a soup that takes that long to make again. You would be better off spending a few minutes whipping up these yummy sandwiches, and the kiddies LOVED them. Gone forever are the days of a slice of cheese and butter on bread in our HOME!


Yummy Pimento, Grilled Cheese (Surprisingly Kids love these too!)

Carolyn


5 cups cheese (mix of sharp and medium cheddar) Any cheddar will do, but I love Tillamook medium white cheddar and sharp.*

1 small jar pimentos

1/2 cup mayonnaise (Best Foods Light) add more if you want in to be more gooey

1/2 teaspoon sea salt to taste

{I added 1 pressed clove of garlic}

Garlic Sourdough Bread (I like Franz/Seattle International Garlic Sourdough** sliced rounds/they sell a regular sourdough also, but the garlic really makes the sandwich complete!) The pieces of bread are big so you can cut in half and they look very rustic and yummy and the cheese oozes out a bit. A nice way to get oohs and ahhs!

5) Trader Joes Olive Oil Spray (Way easy, and you don't need butter because the sandwiches are rich) I use this for all my grilled sandwiches. It’s a mild tasting olive oil.


This should made six sandwiches depending on your bread size and how thick you spread on your mixture. I was able to make six large sandwiches.


This is so simple...I saw the recipe in Bon Appetite and modified it a tiny bit.

●I just tossed all the ingredients other then the bread & Oil in a bowl and mix a few times till the cheese and mayonnaise are blended decently. There's no perfection necessary in this. You can add more mayonnaise if you need it to hold everything together. You can also add a little mustard if you want it a bit tangy..but don't add too much without tasting first (I add about a tablespoon which I like, but my kids prefer it without)

(A hint if you leave the mixture at room temperature for just a bit it grills much better)

●Sample the mixed product several times (you really don't have to do this...but it's so good and my excuse is I have to make sure I put enough salt in)

●Get ready to grill ....when I grill my sandwiches, I grill the insides of the bread for just about 45 seconds before spreading on the cheese concoction. (You don't even need to use butter or oil.) That way, the inside isn't mushy. This works especially well if you are transporting sandwiches for a soup and sandwich night at a dear friend's house like I was.

●After you have assembled all the sandwiches, you are ready to grill.

●Spray the tops of two sandwiches lightly with olive oil, put them oil side down in the pan.

(One of the tricks to a good grilled cheese is patience and a pan that's nice and hot, say med high, but not too hot.)

●While they are cooking oil side down, spray the top. Flip over when they are nicely grilled and brown and cook the other side.

●Move sandwiches to a serving platter and cover to keep warm.***

●Repeat till you are done.

● I do mine two at a time because they are quite large and they fit nicely in my pan.

(You can also do this on an outdoor grill just make sure your flame isn't too hot or they will burn quickly!)


*Note...If you can spring for some black label Tillamook sharp...so good!!!

**They sell this at the Franz Bread store for under $2.00…a great deal and it freezes great. I love to have on hand for those nights when I can’t make it to the store

***These transport really well...I had a ten min drive and the sandwiches stayed warm under the foil. (They are good cold too!)


Shared with: comfy in the kitchen

Thursday, February 2, 2012

Paper Doilie Posies {and a bit of this and that}


Good morning! As I am watching the sunrise this morning, it amazes me that God decides the artistry He will choose to display today! I wonder if that is why the stars sing and the birds chirp and why nature claps its hands! With signs of spring starting to surround us, it reminds me of God's faithfulness and how He is consisitent. Just as sure as we can be that the ocean will continue to roar, that the buds on what seem to be dead branches will bloom, and that the darkness will come...we can be just as confident that with the darkest night...it will eventually collide with the tiniest ray of daylight that suddenly turns into the most beautiful of days! Thank you, God for your promises to us!

I just want to freeze time this week. Do you ever have that feeling? I want life to slow way down and to be able to savor every little bit of it and it just keeps going faster and faster.

I have been planning a baby shower and maybe that is why I am more aware of how fast our children grow up! Sometimes when you are a young momma, you think those days just can't come fast enough when you are chasing a child all day long, balancing a shopping cart with coupons in one hand, a toddler or two outside the cart and a baby in the cart along with the groceries you are trying to grab before the little ones get so hungry and grumpy and are ready for naps! I can assure you...quiet will come and you will long for those hectic days of babies and snuggles. You will have a different kind of quiet and a different kind of hectic! So, if you are at home with babes...LOVE every minute of it. If you have YOUNG ADULTS AT HOME, try to cut out the extras and make them a priority...even if it means helping them study for college tests or digging out the ironing board and iron to press dress clothes because an offspring forgot to do it the night before game day...if you are alone, maybe you need to plan a day to help someone who needs help grocery shopping, maybe cleaning house for a friend who is overwhelmed...even if your home looks like a tornado hit smack dab in the middle! I am sure a tired momma would do anything for an afternoon nap! Just a few thoughts as I try to balance time with the Lord, family, friends, projects...LIFE! This morning I am praising God for HIS grace and mercy through dear friends who offer light at the end of a very dark night and who refresh me through kind words and prayer!


While I was putting the last few touches on the baby shower decorations, I had to cut a doilie down for the cake stand, since I had painted it. Which means food can not sit on it. Why on earth do I make more work for myself...{Talking about cutting out the extras...that is why I was up at 4!} Anyhoo, I had doilie scraps and didn't want to waste, so I thought I may be able to make some posies out of them. They were so easy. All you need to do is to gather it into strips and glue gun the base. Place the posies on a wooden skewer and that is it! I have some green felt scraps I need to cut out for leaves. But NOT today.


Enjoy YOUR Thursday and know that God is more than capable to refresh you!

Monday, January 30, 2012

An Old Easel


First things first!

This last Wednesday, I spent the day with my twinsie and with my parents. It seems as though there is never the time to just meander out for the day, but sometimes, you just have to go and leave things!

Over lunch, I reminded my momma of a devotional she had read to me awhile back. For those of you who know my momma, she loves to share letters she has read, funny stories, Bible verses, a chapter of a book she is reading etc. When she read this one to me awhile back, it just stuck with me and I wanted to share it with YOU today.

It is a reading from JESUS CALLING {December 18}

"When you are plagued by a persistent problem---one that goes on and on---view it as a rich opportunity. An ongoing problem is like a tutor who is always by your side. The learning possibilities are limited only by your willingness to be teachable. In faith, thank Me for your problem. Ask Me to open your eyes and your heart to all that I am accomplishing through this difficulty. Once you have become grateful for a problem, it looses its power to drag you down. On the contrary, your thankful attitude will lift you up into heavenly places with Me. From this perspective, your difficulty can be seen as a slight temporary distress that is producing for you a transcendent Glory never to cease!" {Isaiah 30:20-21 & 2 Corinthians 4:17}

How encouraging is that for a MONDAY morning? Perfect way to start off the week, don't you think?

********************************************************************************************************************************

Okay, on to my "dumpster diving" hubby. It really wasn't a dumpster, but it wasn't the most pleasant place to dig through either. Let's just say it was a far cry from POTTERY BARN and leave it at THAT.

We were going to make our own easel, but when he found this one, we decided we could give it an easy makeover with one package of beadboard and some to spare. :}


The old chalkboard from one side was taken off and the white board from the other was also removed.

He put new supports across the back and then decided that we really didn't need them. POOR thing...


The beadboard was put on to measure for size...and because I could NOT wait to see what it was going to look like! {usually, you would just measure the width and not put the board up!!}


The end pieces were cut off...and saved for mini easels that I will use for menu boards!

Then, we put the cut pieces of beadboard up and screwed them in. For less than $12, we have a one-of-a-kind easel...and fun memories, too. We are nerdy like that...I guess, since We LOVE doing projects together!

I think my favorite thing about the easel is the boxes below...for the baby shower this weekend, they will house the party favor boxes and some birch branches to go along with the birdie and flower theme.


There are so many more ideas for the boxes, though...mason jars filled with candles, fresh flowers in canning jars, markers and crayons for signing one BIG card and the list goes on...what would you put in the boxes?

I still need to decide if I am going to paint the whole thing white or leave it a bit shabby...leaving the frame black. It really comes down to time and laziness!
The beadboard was put on to measure for size...and because I could NOT wait to see what it was going to look like!


there are so many more ideas for the boxes, though...mason jars filled with candles, fresh flowers in canning jars, markers and crayons for signing one BIG card and the list goes on...what would you put in the boxes?

I still need to decide if I am going to paint the whole thing white or leave it a bit shabby...leaving the frame black. It really comes down to time and laziness!


Saturday, January 28, 2012

Pat-a-Cake {Quick D.I.Y.Cake}


No need for spendy cakes. I can't think of much else I would rather do than to widdle the morning away making a birthday cake with a little helper...{BTW, Trader Joes has THE.MOST.ADORABLE packaged cake mix boxes that TASTE amazing and the graphics are to.die.for! I think they could sell it to me with pickled pigs feet and I'd still buy it for the box!!}

Here is what you need:

A sweet.fun.energetic.little helper

A cake mix and a few ingredients

Your favorite frosting

Bake Your Cake.

Let it cool.

Wrap it and freeze it. This makes it sooooo easy to frost!

Unwrap the frozen cake and set 1st layer on a serving plate, waxed paper boars, cake plate...

Frost a bit.

Set 2nd layer on top of frosting.

Get a knife or spoon and pat the frosting on the cake in an upward motion, creating little peakes or waves. This takes no skill whatsoever.

Take two lollipop sticks and stick 'em into the cake. Tie twine, ribbon, string or whatever you have {twisties, dental floss :) on one end. Add paper punches of leaves, different shapes, candy corn, Froot Loops etc. Tie to other pole. That is it. Just think. No lines, no ordering, a fun baking day, memory making, and the satisfaction of having saved a bit of money.

Now, I really want to hear from you? Do you bake from scratch or are you okay with buying a box mix? Be honest!!! :) It took me awhile to not hide the box mix under the organic sugar, butter, milk and oats. BUT it saves so much time!


NO need for a cake? What about freezing some cupcakes and frosting them as needed? I think they might just be a darling little four pack that just might be packaged with a white doilie or some crinkle fabric and a tag that says, "Hugs and Kisses", "Sweet One", "XOXOXO", or "Happy Valentine's Day"!

Happy SWEET Saturday!


Shared with: comfy in the kitchen

Sunday, January 22, 2012

Birch Frame

{My version}

{Their version}


This is more like a little telephone call or text message you may send off to your bff...just short and SWEET!

The other day we were in PB kids looking for deals...there was one "deal" that you may call a deal, but by no means a screaming deal!!!

As I was planning a baby shower for a friend, I remembered the cute birch frames they had hanging throughout the store. My hubby called to see how much they were and of course, they were only for display...NOT for SALE...no biggie, they probably would have been close to the price of our daughter's college tuition anyway...sooo, with rubber polka dotted rainboots, my rain jacket and garden cutteres, I went out to our swampland {backyard} and gathered enough branches to make our own version of a rustic birch frame. I still have a few more to make...but I am so excited they didn't cost one single sparkly dime! Sometimes it is fun to have to be creative when a price tag is not an option!!


OH HAPPY DAY!!


UPDATE: My version is still in the rough...but I will be mounting my bird picture onto foam core board with spray adhesive and then tying it to the frame with light pink divine twine...the pink bird will be attached with light green twine to bring in the two colors. I know...blah blah blah. That is the plan! I would LOVE to know if you go branch gathering in a swamp near YOU. OOPS...I did give the branches a nice warm bath to clean them off a bit and so that they look nice and clean!


Shared with: Debbie Doo, freckled laundry, inspiration friday, how to nest for less


Thursday, January 19, 2012

No Peel Beef Stew


When it is cold, rainy, wet and maybe even snowing outside...nothing beats a crock pot dinner that fills your home with diliciousness all.day.long...especially on a day where other things need to be done aside from standing at the stove and the kitchen sink for hours on end!

This soup took less than 10 minutes to throw together and go get laundry done amongst everything else that was screaming for my attention on Monday morning. And, yes, even the doggie was swaddled in her blankie and toted around for part of the morning! That is how much I miss carrying around babes while doing housework...although there is absolutely NO real comparison!

There was still time for a family and friend walk in the freezing cold and a bit of time to work on projects that really don't take as much time to do as the motivation to start on them and finish them!

I hope you enjoy this easy peasy stew as much as we did! Nothing about this soup is exact. Leaving the skins on the veggies gives it a more rustic taste and more vitamins and minerals for housework energy! No need to make sure all veggies look perfect...just chop, throw and GO!!!

No Peel Beef Stew
Lisa Pearson

1 yellow onion, cut into wedges {OOPS, the onion does need to be peeled!}

4 carrots, washed and cut into about 1 inch rounds

4 potatoes, scrubbed and cut into larger chunks

4 heaping tsps. of Better Than Bouillion Vegetable Base

4 cups water

1 lb. chuck roast beef chunks or stew meat

Directions:

*Place all ingredients into a crock pot {I used my smaller crock pot since I wasn't feeding an ARMY!}

*Let it cook on high for about six hours. You may want to check on it and turn it down to low depending on what time you are eating.

You might want to add freshly ground pepper to your hot stew, too!

This recipe may easily be doubled. Add more broth if desired!


FIRESIDE EVENING MENU:

Hot Cider

Beef Stew

TALL and FLUFFY Buttermilk Biscuits