Showing posts with label BABY SHOWERS. Show all posts

Wednesday, February 8, 2012

Baby Shower Season


WOW! Is it just out here in Portland that everybody seems to be having babies or is it in your neck of the woods, too?

I just remember the excitement of washing baby clothes and ALL of the cloth diapers and everything else that went along with getting ready to bring our babies home. {HMMMM...that may have been the only time I didn't mind laundry!} OCD and nesting can be a very dangerous combination! Pretty sure our home, cars and toaster never looked so good!

Anyhoo, this last weekend I was able to help a friend throw a baby shower for her daughter. Even though there was not much time to plan...it was do-able by keeping things pretty simple!

I will post about my "PARTY IN A TUB" soon and explain how you can plan a party on your own for ANY occasion at a moment's notice! It can be fun...especially if you delegate a few things. I know. I am learning to let people help!!
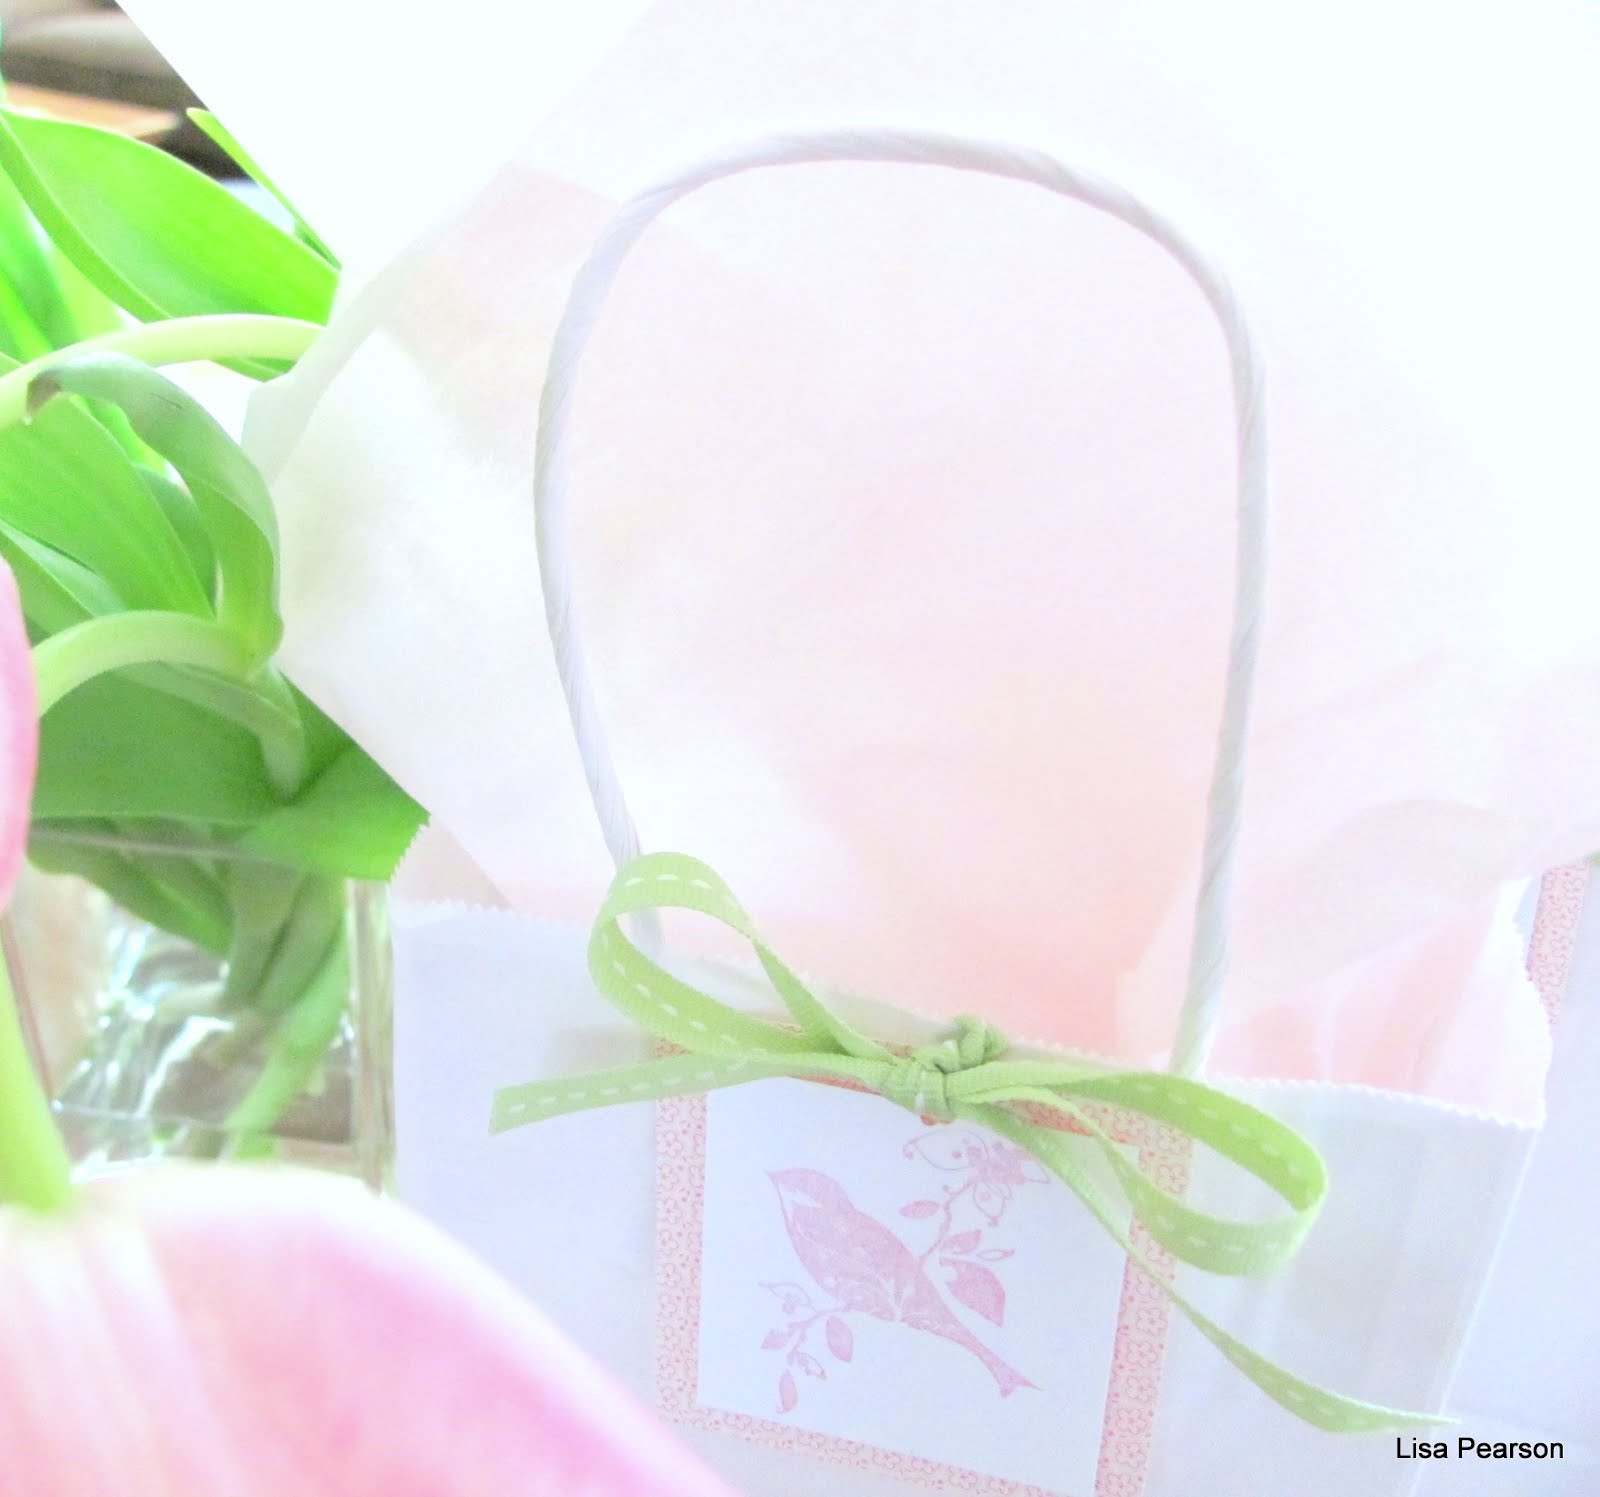
 
I always use white as a background color and then usually choose two accent colors


Stamps that can be uses for multiple uses are a great investment.  This stamp has been used for luncheons, bridal showers, thank you notes, and now for a baby shower!


Here, I used it to help carry the theme.


Since the room was HUGE and didn't really tie in with our theme, I used two IKEA tab top curtain panels {$27, I think} hung on branch limbs that had fallen during a storm.  I let them dry out and they worked out perfectly as a backdrop for our garden/birdie shower!!  Best of all these curtains are also used for table cloths!!  TABS and all...


More branches gleaned from the yard.  A great filler!


White dishes and cupcake holders work with any theme...


Dollar store and Goodwill frames and stamps=Perrfect party accents for stamped art or menus!


Another reason to collect canning jars of differen sizes!


Drink containers also come in handy for a simple display!


White craft store letters, ribbon and wainscotting...

 
Leftover wainscotting and a bit of work on the computer.


Birch branches from our yard gathered at the corners for a free frame!


Inexpensive chinese take-out containers from Cash and Carry make for quick take home favors. 


Itis never too late to start collecting vintage luncheon plates!  Just think how much money you will save by not having to go out and buy paper plates!!  Happy Party Planning and...


Happy Happy Wednesday!


Shared with: crafty scrappy happy, pink saturday


Wednesday, November 2, 2011

Raspberry Cream Whippers


Nothing like a cool berry dessert on a very chilly morning, but when your bff needs an easy as 1 2 3 blush pink dessert...well you experiment! She wanted to make the key lime whippers, but green would just NOT do. After going to three different stores including one that claims to have everything, I settled for raspberry lemonade. YEP. You would think strawberry daiquiri would be in year round, but it is out and apparently raspberry lemonade is IN. Anyhoo, it turned out to be the perfect color of pink. Kinda antiquey, vintagy, blushy. Perfect for the celebration of a sweet baby girl! Love you, bunny and it is going to be so.VERY.beautiful!


Raspberry Cream Whippers


Ingredients:

1 14-oz. can of sweetened condensed milk

1 6-oz. can frozen raspberry lemonade concentrate {NOT thawed}

1 cup heavy cream

graham cracker crumbs or OREO cookie crumbs


Directions:

*Whisk the condensed milk, frozen raspberry lemonade and heavy cream in a large mixing bowl with the whisk attachment.

*Beat until fluffy and a bit stiff.

*Chill for at least 6 hours or overnight.

*Before serving, place a few graham cracker crumbs in the bottom of each small jar.

*Top with creamy filling, it is really ADORABLE topped with a squirt or two or three of whipped cream!

I made several without the graham cracker bottoms and I think I liked them even better...so...whatever floats your boat! Just remember these little cuties are quite rich, so a little dab will do ya!

This serves about 10-14 depending on the size!

Happy Wednesday!


Shared with: pink saturday

Tuesday, July 12, 2011

Burlap Baby Growth Chart


Well, hello girlies! Hope you all are doing just peachy!

I know...I have been doing lotsa blog archiving lately...because it is summer time and there is fun to be had!!!

Not sure if it is just here in Oregon, but everybody {ALMOST!} is either pregnant or have just had a baby. We know of nine as I type!

SOOOO, I wanted to do something a bit different because I am getting bored with the same ol' projects and that is NOT good. Baby showers are so much fun to go to and making gifts...if you have the time...can be really fun, too!

I saw the cutest baby gift in a boutique, but I felt like it was outrageously priced, considering the materials it used. SO, I decided I could make a very similar one for pennies! And, YES! I used change to purchase the burlap! :}

So, with my craft store coupon {yay for the 50% off ones!!!} and what I had on hand...each gift will cost me about $2! I love it!

Here is what you will need to make it yourself {MIY}:

Burlap...I bought what was left on the bolt...about one yard and 2/3, I think
Just make sure you have enough for 4 foot lengths.

a bit of decorative ribbon

1 wooden dowel

glue gun

20 safety pins

cardstock paper and a decorative punch

embellishments and gift box or bag

Directions:

*Cut burlap as staight as possible...4 feet in length by 6 inches in width

*iron fabric so it looks a bit more chic than shabby {only if you like!}

*fold burlap over wooden dowel and glue gun it.

*for a boy you may want a knot out of your decorative ribbon on each side of the dowel...and a bow if it is a baby girl.


*print "name" "age" and "date" on cardstock. I did mine on the computer and then cut each tag out with a punch. Make 20 so there sre plenty for the new baby.

*punch small holes with a hole punch into each tag, so that they can be pinned to the growth chart. I wanted to make things more complicated, so I used metal reinforcers for the holes!!! No need to do this! {I broke my own rule of keeping things SIMPLE!}


*the safety pins can be gathered and placed into a small envelope or spice bag with a drawstring. TAA DAA!


I will be using a growth chart tag for the outside of the gift...just for fun...since babycakes is not born yet, I will be putting down the due daye and age will be how many weeks momma is at the time of her baby shower.

Directions that will be included in with the gift:

Place growth chart 1 foot or more from the floor...Enjoy documenting the growth of your child. Simply roll it up and keep it safe when your child is done growing!

I think this will be a special gift!

Shared with: at the picket fence, crafty scrappy happy, overflowing, talent tuesday

Tuesday, May 17, 2011

Garden Row Cupcakes


This is still one of my very favorite recipes. I am not sure if it is because of the actual taste, the creativity of it, or the fact that they are so easy and fun to make. Anyhoo, the idea is from an old {VINTAGE} Better Homes&Gardens cookbokk that my mom had as we were growing up. I loved flipping through the pages and feeling like I really wanted to make everything in the book, but alwayscame back to these adorable cupcakes.

Since I didn't have everything on hand, I improvised:

Here is all you need:

clean, unglazed, sterilized flower pots or deep bowls {that is what I had}

cupcakes {I had frozen minis in the freezer}

frosting

coconut and food coloring

old-fashioned hard candy sticks {nope, didn't have those either, so I used paper straws}

chocolate sprinkles {I put a few chocolate chips through the blender}

To assemble:

*Frost frozen cupcakes...they are much easier to frost!

*Roll in colored coconut

*Store in freezer with straws inserted

*THIS IS THE BEST PART: Pre-scoop dishes with ice cream and sprinkle with "dirt" chocolate.

Before serving, add straws and hand out!


OKAY...if you have no time AT ALL, whatsoever, had a bad day and hardly have time to chomp on your kiddies leftover toast crusts...prescoop the ice cream when things have settled down and add a punched tag with whatever message you would like.


For a luncheon you may want to add "THANK YOU", for a baby shower you could add the baby's initial, a birthday child's name etc. it is easy to make these look special by hot-gluing ball fringe or ribbon to the dish. Don't worry, it will peel right off.

Last tip o' the day: to make it even easier, you may want to use the disposble white paper ice cream containers from CASH AND CARRY/Garnish.

Sorry these posts have been old posts and "rushed", but this time of year is CRAZY!

Happy Tuesday!


Shared with: women living well, simple country life, raising homemakers, pink saturday

Wednesday, May 4, 2011

Sweet Pea Baby Gift {giveaway}


I am so excited to share this giveaway with YOU! It is a SWEET PEA baby gift made just for your little sweet pea or to be given away as a gift.

*To enter the giveaway: simply leave a comment on this post!

*FOLLOWERS will receive an EXTRA entry!

*Giveaway ends on Friday, May 6th at midnight {Pacific Standard Time}.

*Winner will be announced on Saturday, May 7th.

This gift package includes:

2 plain white burp cloths
1 personalized baby spoon {for ornamental purposes only}-up to seven letters
1 gift tin with 12 personalized bookplates for baby's library
1 handmade felt sweet pea with tag

This gift is already assembled and will be shipped ready to give away or KEEP!

The winner will have several color selections to choose from!


PLEASE LET ME KNOW IF YOU ARE FOLLOWING WHEN YOU COMMENT...thank you!

I can't wait to see who wins!

For those of you who are wanting a recipe...here you go!


Photo credit: My BFF Kim @ blubelstudio.com


Spring is HERE and that means outdoor party planning, picnics, bridal showers, luncheons and baby showers are being planned.

It is a good idea to have a few go-to recipes that will not disappoint and that are easily prepared in advance. We all know the "day of" is filled with enough last-minute challenges as is.

Although there are quite a few "curry haters" out there, this is a chicken salad even they will love and picky children will not {hopefully!} complain.

Happy Planning!


Baby Shower Curry Chicken Salad
Lisa Pearson


Ingredients:

6 cups cooked chicken, chopped

2 8oz. cans water chestnuts, drained and chopped

1 ¼ cups Best Foods Mayonnaise

1 tsp. sea salt

2 tsp. curry or to taste


Directions:

*Mix all ingredients together except water chestnuts.

*May be refrigerated overnight.

*Add water chestnuts before serving.

*Note: If I am boiling chicken breasts, I figure on one chicken breast per cup.

*You may want to add a bit more mayo before serving if needed.

Enjoy!


***************GIVEAWAY NOW CLOSED********************GIVEAWAY NOW CLOSED************


Shared with: women living well, stuff and nonsense, pink saturday

Saturday, April 16, 2011

Frosted Animal Crackers {custom colors}


Baby shower season is HERE! Can I tell you how many people we know right now who are expecting? Too many to count!

I think animal crackers make a perfect party favor, but who wants to serve pink and white cookies when your shower colors are yellow, blue or green? What about purple, orange or red? {I know they have seasonal animal crackers with different colors, but if you are like me and thinking six months ahead of time is impossible!}

Aside from color choices, I am not always thrilled with the ingredients...so here is what I came up with...make them yourself in whatever color or shade you would like. Mix and Match and have fun. The possibilities are endless.

Ingredients:

Organic animal crackers {Trader Joe's}

Candy melts or white chocolate...if you don't mind a bit lumpy and thick

Food coloring in whatever color your little heart desires!

SPRINKLES

Directions:

*Lay the lil critters on a cooling rack...top side up.


*Melt candy in microwave in small increments...as not to scorch it.

*Add food coloring and stir.

*Dip each animal cookie {top side down} into melted candy.

*Sprinkle with sprinkles...and freeze for quick set-up!


"Animal crackers, and cocoa to drink,

That is the finest of suppers, I think;

When I'm grown up and can have what I please

I think I shall always insist upon these."

By: Christopher Morley


Idea shared with: Moms Crazy Cooking, tidy mom, at the picket fence

Sunday, April 10, 2011

BABY SHOWER CURRY CHICKEN SALAD


Photo credit: My BFF Kim @ blubelstudio.com


Spring is HERE and that means outdoor party planning, picnics, bridal showers, luncheons and baby showers are being planned.

It is a good idea to have a few go-to recipes that will not disappoint and that are easily prepared in advance. We all know the "day of" is filled with enough last-minute challenges as is.

Although there are quite a few "curry haters" out there, this is a chicken salad even they will love and picky children will not {hopefully!} complain.

Happy Planning!


Curry Chicken Salad
Lisa Pearson


Ingredients:

6 cups cooked chicken, chopped

2 8oz. cans water chestnuts, drained and chopped

1 ¼ cups Best Foods Mayonnaise

1 tsp. sea salt

2 tsp. curry or to taste


Directions:

*Mix all ingredients together except water chestnuts.

*May be refrigerated overnight.

*Add water chestnuts before serving.

*Note: If I am boiling chicken breasts, I figure on one chicken breast per cup.

*You may want to add a bit more mayo before serving if needed.

Enjoy!

Shared with: pinkalicious thursday comfy in the kitchen stonegable

Sunday, January 16, 2011

Baked Donuts...and donut lollipops


I love a leisurely day of baking! Not baking because we need bread or granola for breakfast, but baking out of sheer pleasure. No rush!

This Saturday, I was craving donuts for breakfast! Well, we had them for lunch, but...who keeps track on lazy, rainy Saturdays anyway? Not me!

ENJOY!


Baked Donuts

recipe from pan packaging


Ingredients:

1 1/4 cups cake flour

1/2 cup sugar

1 1/4 tsp. baking powder {aluminum free}

1/4 tsp. ground nutmeg {fresh ground is BEST!}

3/4 tsp. salt

1/2 cup buttermilk

1 egg, lightly beaten

1 1/2 Tbsp. butter, melted


Directions:

Preheat oven to 425*.

Mix dry ingredients together.

Add wet ingredients.

Stir until combined.

Grease mini donut pan.

Fill donut cup about half full.

Bake about 4 minutes.

Let cool a bit.

Top with favorite glaze and don't forget the SPRINKLES!

My favorite donut glaze:

1 cup powdered sugar
1 tsp. pure vanilla extract
2 Tbsp. milk
1/8 tsp. oil

Mix all together until drizzly. Dip donuts in glaze and sprinkle immediately with sprinkles, or the pretties wont stick...and then, they just wont be as cute.

The other recipe I use is my donut muffin one. Just take out the pumpkin and add in butter.

I put some on lollipop sticks...I think they would make great baby shower favors!

Have a Happy Monday!

shared with: comfy in the kitchen

Monday, August 2, 2010

Herbed Eggs in a Basket


Sometimes the simplest of ingredients can make for the most delicious and beautiful breakfasts.

If I am short on time, but want something really special, this is one of my favorites!

Your Shopping List:

8 slices of Black Forest Ham from the Deli
8 eggs
Fresh rosemary

See? Easy, easy, easy.

Preheat oven to 400.
Line Prepared muffin pan with ham. {I used my Demarle MOLD...no greasing, no-stick!}
Break egg into ham "cup"
Sprinkle with a tad bit of salt and pepper.
Bake for about 20 minutes or until egg is set.
Remove from oven and garnish with fresh cut rosemary.

ENJOY with English muffin and a tall glass of ice cold orange juice!

THESE little beauties are great for kids to grab and go...or hubby's, or busy Mommas. Not bad cold, either.

Recipe shared with: mom's crazy cooking, pink saturday, stone gable

Friday, July 30, 2010

Fruit {Jellies} on a Stick


Okay. Here is a quick idea if you want party favors and don't have the time to come up with something fun!

Materials:

Container...plastic cup, flower pot, tea cup...whatever you have
Flour
Crinkle paper
Assorted Fruit Jellies {Trader Joes}

Directions:

Fill container with flour
Put Crinkle paper on top to cover flour
Cut lollipop sticks in various heights
Stick them in the flour
That is it!

Takes minutes! I also cut some jellies and put them on the glass...endless possibilities. No mess. No effort...well maybe a little...and they are A.DORABLE. They look like a little bouquet of baloons!

FOR CHRISTMAS: Use brightly-colored gumdrops {they will look like christmas lights!} and place them on the lollipop sticks! So very festive and fun. Be sure to have your children do this project for YOU! They will so enjoy it and feel like they contributed to the party!

Happy Happy Friday!

This is a fun activity to have your children make to take to a summer picnic. No need for dessert...just fruit jellies on a stick!

Next Week: Fireside Treats {chocolate & peanut butter S'MORES} for inside and out!


Shared with: at the picket fence, comfy in the kitchen

Monday, July 19, 2010

Chocolate Celebration Cake {aka Poppi's favorite cake!}

...made with pumpkin, almond vanilla milk and Nancy's yogurt...a new healthy makeover for an old fashioned favorite! Recipe coming soon!

Everybody needs a go-to cake that can be whipped up in no time. I used to be such a cake snob! I had never bought a cake mix. Honest! I was selling Demarle products and the last thing the hostess was wanting to do was to spend the day slaving on a from scratch cake, I started buying cake mixes! I about died! I remember stocking my grocery cart with lots of cake mixes...when they were on sale. I was so humiliated. I totally hid the boxes under my bulk bags of Bob's Red Mill grains, Wild Salmon and big heads of cabbage and cauliflower! I even avoided my favorite checkers, because they KNEW I made everything from scratch. Talking about PRIDE! Shame on me.

Anyway, since I can't leave anything alone {control issues?!} I finally substituted and added good ingredients to justify the fact that cake mixes can actually be okay and semi healthy!

So if you are running short on time and want to make the very best cake from a mix, here is one that might just become your new favorite CELEBRATION CAKE!


Chocolate Celebration Cake


1 package Duncan Hines Devil’s Food cake mix {I prefer Trader Joe's Chocolate Cake Mix}
1 small box vanilla pudding
4 eggs
1 cup Nancy’s yogurt
½ cup almond vanilla milk
1 15oz. can pumpkin
1 tsp. pure almond extract

2 cups semisweet chocolate chips

Directions:
Place all ingredients in mixer bowl, except for the chocolate chips. Beat on low for 2 minutes. Add chocolate chips. Bake for 45 minutes or until done. {Follow cooking directions on the back of the box.}
Cool for 20 minutes!

I made three small cakes. Two were made into a small celebration cake {we got our daughter registered for her college classes!} The other one is wrapped in the freezer for a last minute grab-n-go!

ENJOY and CELEBRATE!

Freeze until ready to frost.
Top with your favorite buttercream frosting.

Monday, July 5, 2010

{Childhood} Memories in a Box


As I was looking through Laurissa's memory box, now that she is getting ready for college...it was a bit sad. Hard to believe everything from her baby shower to her graduation is in one box. It will be complete at the end of this summer. WOW! I am glad I took the time to save the things I did and even the things she wanted to keep that at the time I thought were really NOT necessary. Those little scribbles and "important" papers have become just as precious to me.
It is no secret that I have no patience for scrapbooking. I wish I had beautiful books gracing my shelves of well-documented pages and labeled photographs of my children growing up, but I don't.

Baby shower cards were wrapped in recycled gift ribbon, and put into an envelope.

My children each have a memory box that is basically a rubbermaid portable file box. Pretty sure it is not of archival quality either. :)
At the beginning of every school year I put a new marked manilla folder with their name and grade and keep it with my everyday files. During the year I file everything that is special to them: pictures, sports awards, birthday cards tied together, movie stubs, tickets to special events, notes, drawings, report cards, notes from teachers, yearbooks and summer memorabilia. At the end of the summer it gets filed into their memory box. It keeps their rooms cleared from clutter, doesn't get lost, and is a fun activity to pull out once in awhile.

I know it isn't fancy schmazy, but it is a fast, easy way to stay organized and "scrapbook" your child's memories without being too time consuming.

When we were putting Laurissa's senior memory board together, it was easy to go to the box and get what was needed for a detailed project. I would suggest always marking the year and grade on the back of filed papers etc, so it is eay to put back if it is used for something...

So glad I have one box filled with memories for each of the children. It is nice and compact, so that when they leave home, it will not take up too much space.

I have given two of these away as baby shower gifts and they were so appreciated. I know. Not very fun, but for a mom who hates organizing things, it is a welcomed gift. :) I pre-labeled all of the manilla folders and made a label for the front. They turned out adorable! For you crafty people out there, I am sure you could really have fun embellishing this idea!

How do you organize your children's papers?

*This post is shared with: women living well

Saturday, July 3, 2010

Southern Sip & See Baby Shower


This was so much fun! These days entertaining is at the tippy top of my list. The more, the better. THIS means alot of the time-consuming, perfectionistic, over-the-top details are not happening.

It is really difficult for me to be okay with it, but the more time we can spend with family and friends...because I am not worrying about the details...is so worth it.

This last week, my dear friend Tamie and I threw a simple Southern Sip & See for her new, most-adorable grand baby girl! {They call her Honey Gram...isn't that the cutest?}

Sip & See's are common in the South. They are much more casual and a bit more like an Open House where guests can come and go. We did it on Wednesday evening at 6:00. So that allowed people who were working late or hubby's getting home to watch the kiddies a bit more flexibility in coming when it was convenient for them to show up.

A light dinner was served and we all enjoyed passing babycakes around and visiting!

No party favors, no food labels, no last minute stress. We shared in food preparations and the decorations were re-cycled from past parties. Simple.Simple.Simple. Sip & Sees are the way to go.

How do you keep celebrations simple? Any ideas? OR How could you simplify if they are too complicated?

Menu:
Sweet Tea
Key Lime Punch
Artisan Bread from a local bakery
Asian Pasta Salad...made ahead of time
French Macaroons from Elephants Deli
Biscuits and Berries with Whipped Cream aka Strawberry Shortcake...made ahead of time

Tuesday, May 18, 2010

Simple Gifts For...This. That. And The Other


Please e-mail me for custom orders, color options, gift ideas and prices.
Posted by Picasa

Wednesday, May 12, 2010

Soda Fountain Gift


How many of you remember the craze of Soda Fountains? Raspberry Flips, Pink Sodas and Patio Punch Soda's were all the rage. Well, here is a fun, frugal way to give an Italian Cream Soda to go as a gift.

This can be given as a shower gift, a graduation gift {teenagers love these!}, a birthday gift, a teachers gift etc.

They are great baby shower gifts as well. It is fun for the Momma-to-be to be able to take something home for the rest of the family or hubby to enjoy as well. You could even include a gift certificate for a pizza to be enjoyed on a day where cooking is not at the top of the "to do" list.

These Italian Cream Soda gifts are very fun to embelish. You can use colors or a theme to customize the gift.

As mentioned before we are talking FRUGAL, so I made mine for under $10.00.
white gift bag: .79 {Party Depot}
2 12x12 sheets of scrapbook paper: $1.00 {Paper Zone}
napkins: $1.00
straws: $1.00 at the Dollar Store {on hand}
cups: $1.00 {the Dollar Store}
Torani Syrup: $3.99 {Cash-n-Carry}
Club Soda: .87 with deposit {Winco}

Ribbon I had on hand.

DIRECTIONS:

Club Soda:
Cut scrapbook paper into 6x6 square.
Remove label from Club Soda.
Glue 6x6 sheet on to Club Soda bottle being sure to cover any leftover residue from original label.

Drink Tags:
Use any size craft punch and punch drink tags out of scrap paper from cutting down your 6x6 sheet of paper.
Punch a small hole with a regular sized hole punch for straw.

Straws:
Place a handful of straws into standard cellophane bag or tie together with ribbon.

Italian Cream Soda Label:
Cut second sheet of 12x12 paper into 8 1/2X11.
Print label with Italian Soda directions.


I put enough for 8 into each package, but always more straws. They are inexpensive and fun to have extras. Can one ever have too many straws?

Suggestions if you are NOT on a budget:

*Add a glass straw dispenser with colorful straws.

*Add cookies or biscotti to carry the Italian theme.

*Add an ISI whipped cream maker...you get the idea!

For Christmas: make it fancy with silver and gold decorations.

For a whimsical Christmas gift, you could include red and white striped straws, napkins and homemade biscotti etc. HAVE FUN!

Enjoy!

Shared with: Skip to my Lou,

Friday, April 16, 2010

Polka Dots and Sweet Peas

 
Posted by Picasa

Okay. I think I am done with Sweet Peas. Sorry.

Tuesday, April 13, 2010

Little SWEET Pea {part two}


The arrival of a new baby usually means the planning of a baby shower!

There are celebrations to celebrate just about everything, but I can't think of any celebration as SWEET and exciting as the arrival of a new baby.

There is so much anticipation and joy. Some showers are planned after the birth which means that the baby gets to be passed around and adored which is even more fun.

My friend Kim and I had so much fun planning this pea pod shower a couple of years ago. {THANK YOU, Kim for the A.DOR.ABLE photo}

The color scheme was what we based the menu and shower on to pull it all together. Our theme was "SWEET PEA"...from there the planning was easy.

The shower was pretty much stress free. All of the details were done in advance. The only thing that was not done ahead of time was the punch and that doesn't really count because all it took was opening a carton of lime sherbet and adding 7 UP to it! Easy PEAsy (HA!). The cupcakes, the "sentiment" cake and pea pod pecan tassies were made in advance and then frozen.

The chicken salads were made the day before along with the cheese slices.

It is definitely a good idea to keep things simple...food and decorations...so that when your friends arrive, you are able to enjoy the special occasion you are celebrating!

Here are some ideas:

* Get a date on the calendar
* Figure out your colors~I like to choose two colors and I ALWAYS use white as the background. It makes everything look classy and it is way more economical to always have the basics...dishes etc in white so that you can reuse them.
* Pick a theme. For example: Peter Rabbit, circus, firetrucks etc. If you can't think of a theme, stick with colors for your "theme" and it will look B.EAU.TEE.FUL.
* Decide on what time of day or evening you will be gathering. This will help you to decide on your menu.
* Start collecting inexpensive glass luncheon plates and cups and white dishes. Hit garage sales, flea markets or your Gramma's attic. This will eventually save on the cost of expensive paper products. (I started collecting mine 20 years ago!)

What is your favorite idea for planning a shower?

Monday, April 12, 2010

Little SWEET Pea {part one}

 
Posted by Picasa

One of the best gifts for new parents is sometimes the most practical. A simple way to create a special evening for them is to take a meal. It is a great idea to have that be your gift to the new family. Not only is it meaningful, but it will be fun for you to spoil them.

Wednesday, March 3, 2010

Happy Birthday Laur!

Do you think from the moment we were conceived that we "knew" we would be best friends for life? It is an incredible thought! Just think, we have known each other longer than anybody else will ever be able to...not very many people can say that. What a privilege to be brought into the world with an instant best friend.

I think it is AMAZING! I know that God knew that you were exactly what I would need in this life...a twin...and an identical twin at that. How very perfect.

You were my very first birthday gift, Laur, and are one of my most cherished gifts I have ever received.

Whenever I hear your voice, it brings comfort and calm. You are the dearest of friends. You forgive, you have offered hope when I couldn't grasp it, you love me at my worst and best...absolutely unconditionally. You are always happy for me even when you are hurting. You pray with me and show me what it means to have mercy for others.

When we were little, people used to always ask us if we liked being twins. Back then, I never understood what they meant. All these years later, I think I know EXACTLY what they meant. I don't think they could understand how two different people could enjoy getting called the wrong name, getting in trouble for something they didn't do and boy oh boy do we know the list goes on! I still love being your twin and in my book there are NO disadvantages.

Laur, you have always had a cheerful, gentle spirit. It doesn't matter if you are right next to me or if you are on a different continent. If I was reading a letter from you, talking to you on the phone or whispering late into the night with you, your voice is a sweet echo from your heart.

I hold dear our childhood days of baby dolls, puppets, Chinese jump rope for hours on end, roller skating, spring picnics and hikes to our "TABLELAND", camping and biking in Holland, Chinese food, museums, castles, piano lessons, Grandma Metko's hide-a-bed, boyfriends, plane rides, berry picking, and graduation...then
...weddings, babies, toddlers, teenagers...

I have never faced the hardships you have experienced, but the example you have been to me is one of courage and strength. You have taught me that no matter what happens in this life we can not rely on ourselves as much as we think we can... but our trust has to be in God.

Tonight, as I try to squeeze this little birthday letter in, there are so many things I wanted to write and reminisce about, but I guess it all comes down to this, my sweet twin: my heart is bursting with thankfulness that God gave me a very tangible way of understanding His love toward me through you. I love you and am thankful I have had you in my life...from the VERY beginning.

Friday, January 22, 2010

Birthdays

 
Posted by Picasa